
Are you struggling to get consistent, accurate cuts when slitting printed packaging film? It’s a common headache that leads to wasted material, customer complaints, and lost profits. You know you need a machine with registration control, but just asking for that often isn’t enough. The solution lies in providing your supplier with a complete and precise set of requirements from the very beginning.
To properly record registration and repeat requirements for slitting printed packaging film, you must document more than just the repeat length. A complete specification includes the registration mark's dimensions and color contrast, the acceptable cutting tolerance (e.g., +/- 1mm), the film's material properties, and the target production speed. Providing physical samples is also essential for supplier verification.
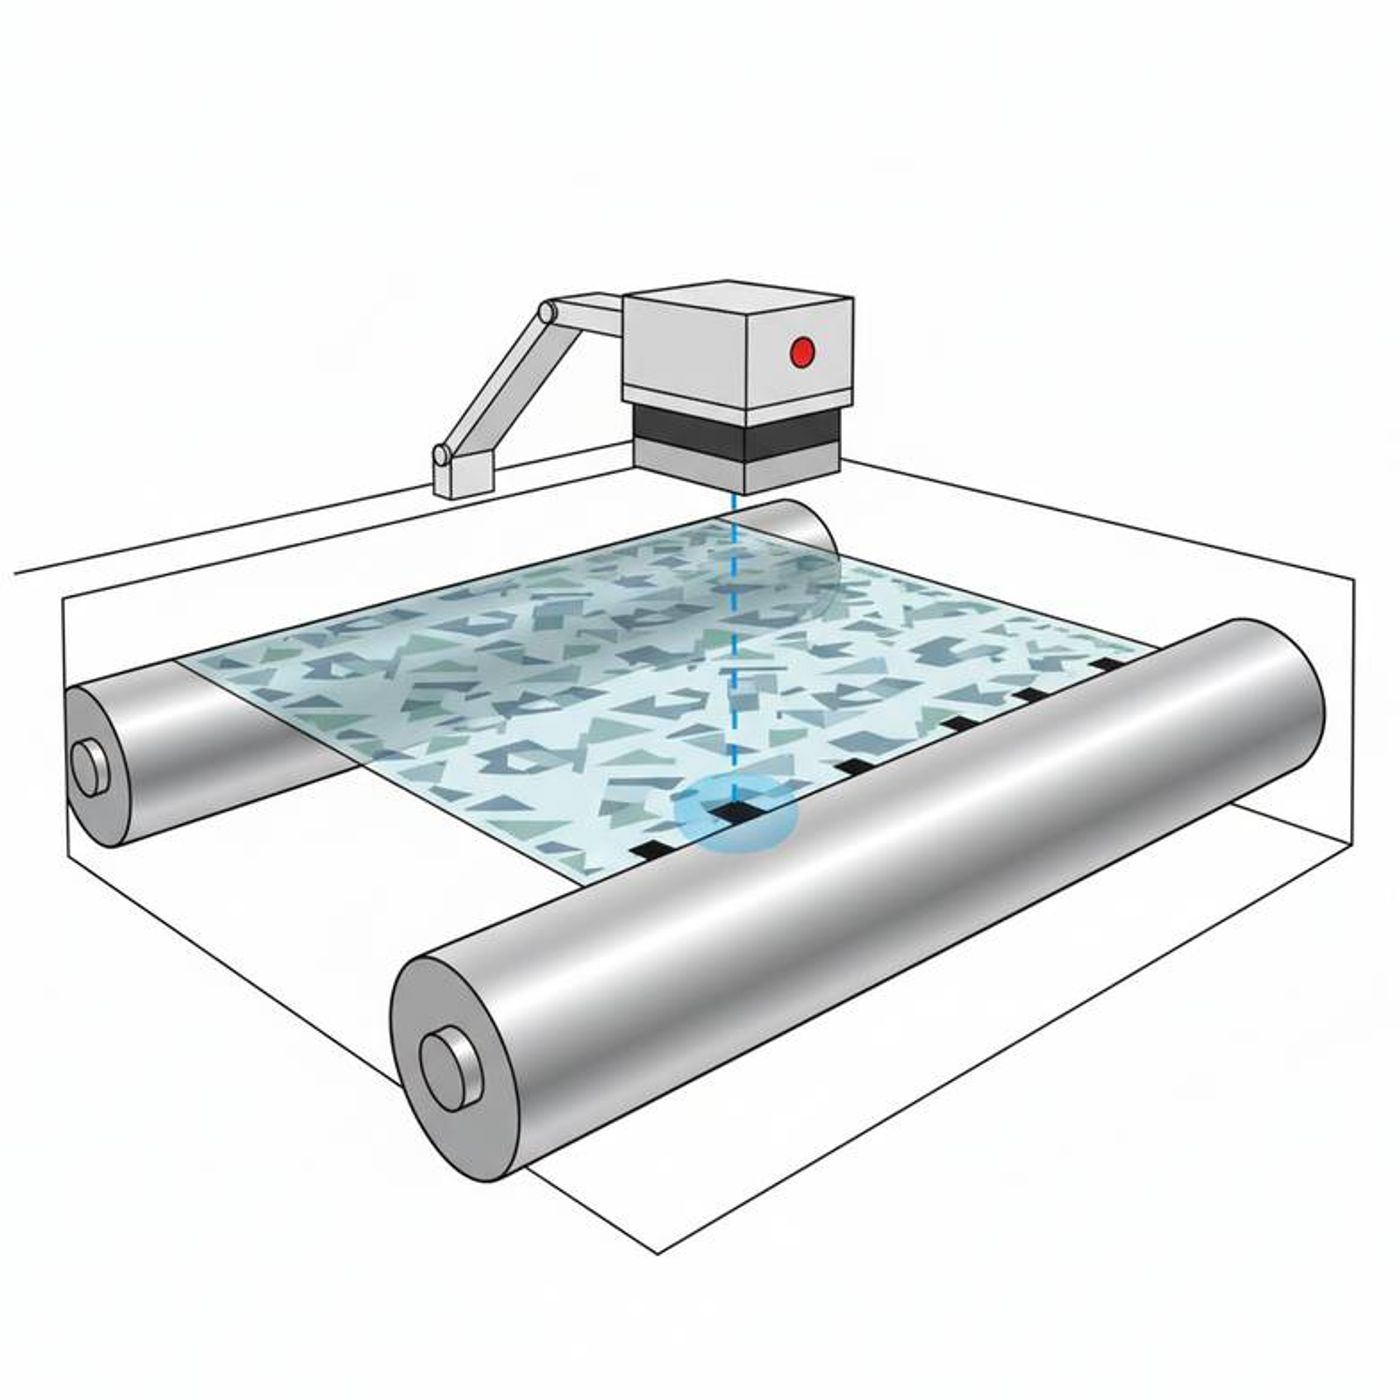
This might sound like a lot of detail, but each piece of information is critical. So, why does a machine manufacturer like us need to know all this? Let's dive into what these requirements mean and how they directly impact your machine's design and performance.
Why Is Repeat Length Only Part of the Story for Slitting Printed Packaging Film?
Ever send a request for a slitter with just the print repeat length, only to get a flood of follow-up questions from the supplier? It’s frustrating when you think you’ve provided the key number. The problem is that repeat length alone doesn't give us the full picture of the slitting challenge.
The print repeat length is just the starting point. It tells us the distance from one printed image to the next, but it says nothing about the registration mark itself, the required cutting accuracy, or how the film will behave under tension in a machine. These missing details are what truly determine the right control system.
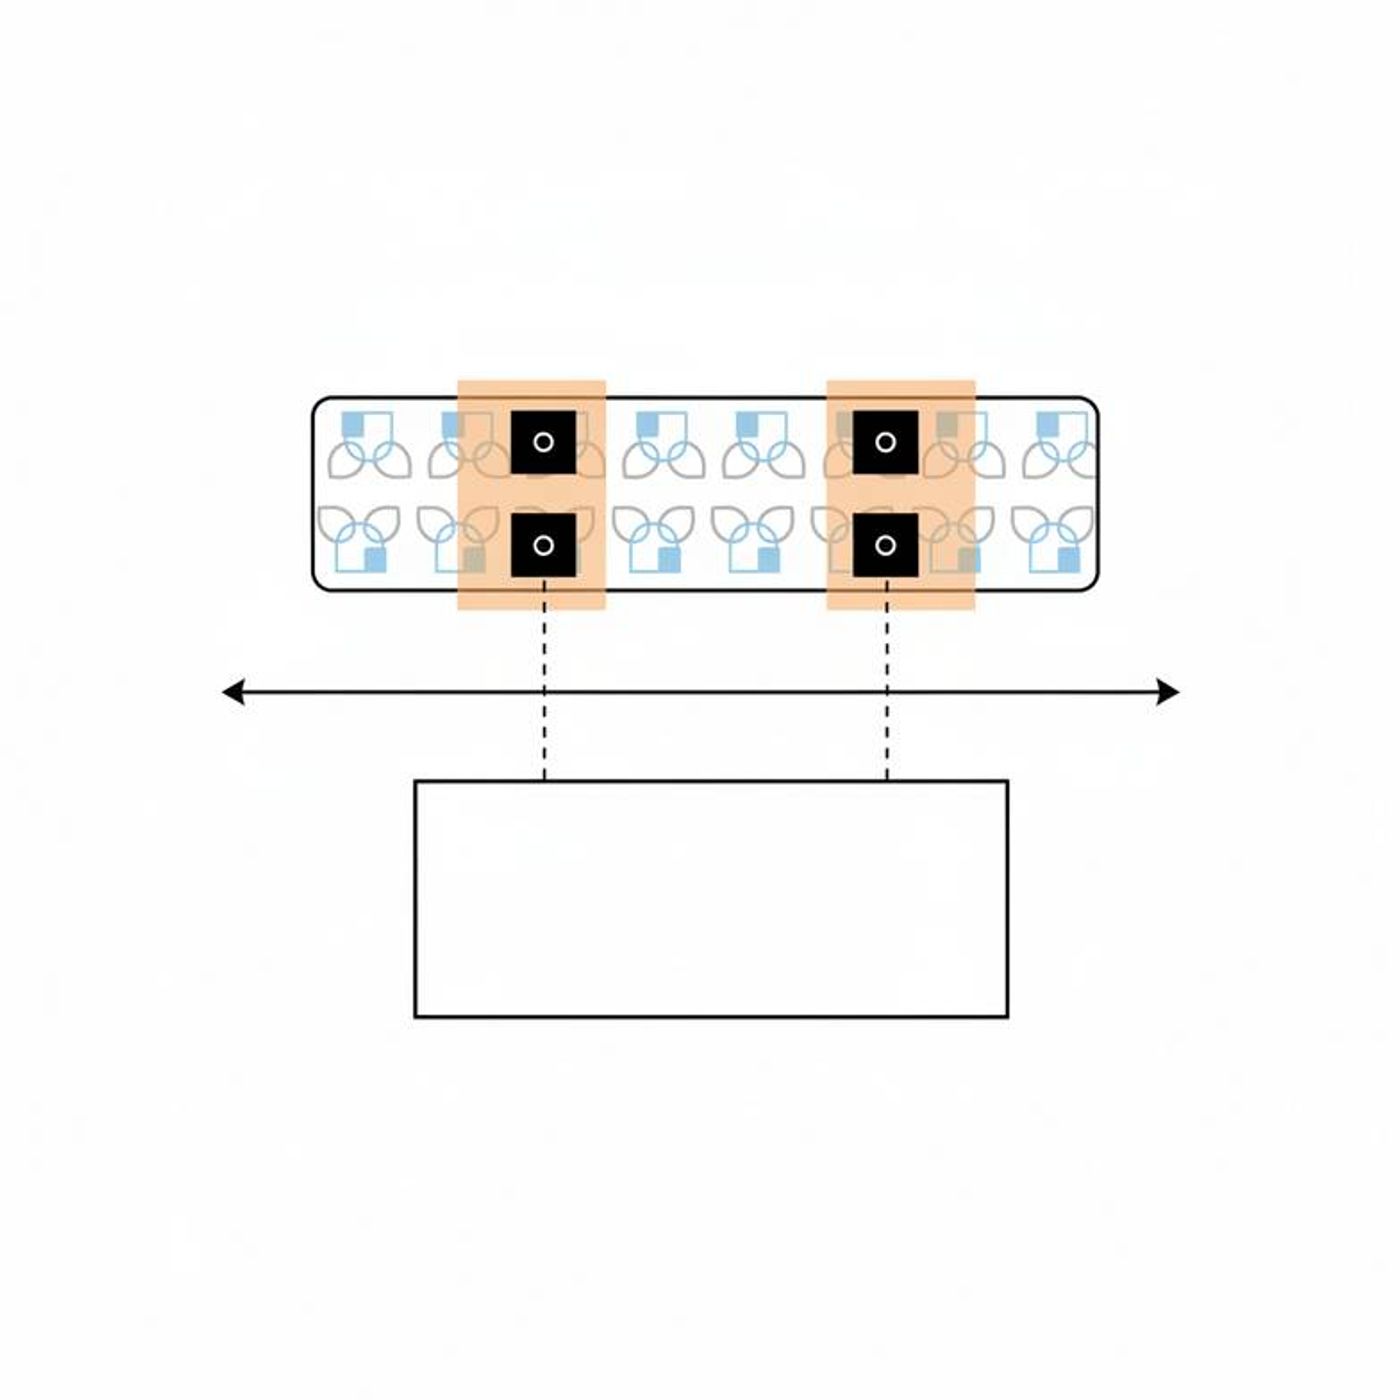
The Registration Mark is Your Guiding Star
Think of the registration mark—often called an "eye-mark"—as the anchor point for every cut. The slitter’s sensor is programmed to find this specific mark and trigger the cutting or positioning action. If the sensor can't see the mark clearly and consistently, the entire system fails.
When a customer asks us for a machine for slitting printed packaging film, one of our first questions is always about the mark itself. We need to know:
- Dimensions: What is the length and width of the mark in millimeters? A tiny mark is harder to detect reliably at high speed than a larger one.
- Color and Contrast: What is the color of the mark and the color of the background it's printed on? A black mark on a white background is easy for a sensor to see. A light gray mark on a silver film is much more challenging and may require a more sensitive, specialized sensor.
- Position: Where is the mark located on the film web? Is it in a clear lane, or is it close to other busy artwork?
Without this information, a supplier is just guessing which sensor will work.
Tolerance Defines Your Quality Standard
Your required cutting tolerance is the acceptable margin of error. Do you need the cut to be within +/- 2mm of the registration mark, or does your customer require a much tighter +/- 0.5mm?
This single number has a huge impact on machine design and cost. A wider tolerance might be achievable with a standard control system. A very tight tolerance, however, demands a high-precision system with faster processors, more responsive drives, and a more sophisticated sensor. It's a classic trade-off between cost and precision. Be honest about what your application truly requires. Over-specifying the tolerance can lead you to pay for a level of accuracy you don't actually need.
Material Properties Change Everything
I've seen projects where the specs looked perfect on paper, but things went wrong once the machine was running. The culprit? The film itself. Packaging films, especially materials like PE or other extensible plastics, can stretch under tension.
If a film stretches even slightly, the distance between registration marks changes. The sensor will be chasing a moving target. This is why a machine for slitting printed packaging film must have an excellent tension control system. The system must maintain a constant, stable tension from the unwind to the rewind, ensuring the print repeat length remains consistent as it passes the sensor. That's why we always ask for the specific material type and thickness—it tells us how much of a challenge tension management will be.
What's the Difference Between an Eye-Mark Sensor and a Vision System?
When you get quotes for a slitter, you might see different options listed for the registration system, like a "photoelectric eye-mark sensor" or a "vision system." It's easy to get confused. Choosing the wrong one can mean buying a machine that can't read your prints or overspending on technology you don't need.
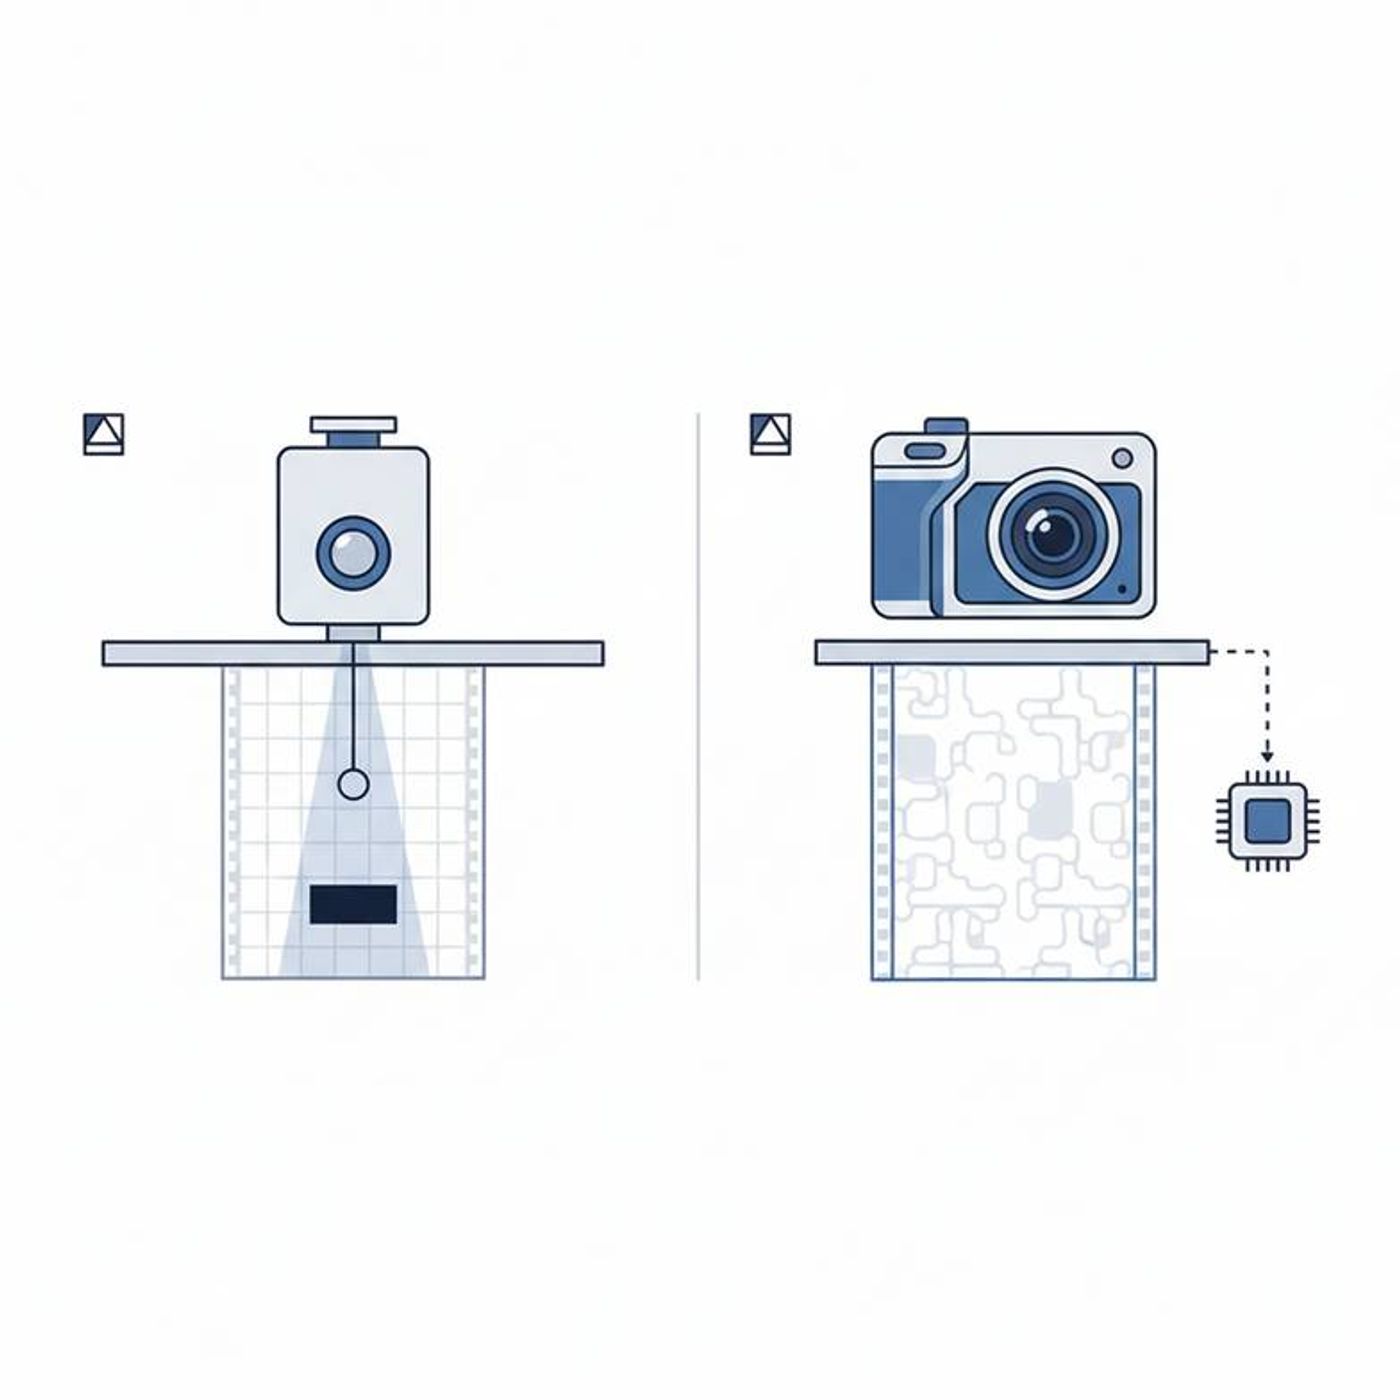
The short answer is that a standard eye-mark sensor is a simple, cost-effective device that detects a specific contrasting block mark. A vision system is more advanced, using a camera and software to identify complex patterns, which gives you more flexibility and precision but comes at a significantly higher cost.
The Workhorse: Photoelectric Eye-Mark Sensors
A photoelectric sensor, or eye-mark sensor, is the most common tool for print registration. It works by shining a small spot of light onto the film and measuring how much light is reflected back. When it passes over a mark that has a different contrast from the background (e.g., a dark mark on a light background), the change in reflected light triggers a signal.
These sensors are fantastic for many applications. They are reliable, fast, and relatively inexpensive. However, they have their limits. They can struggle when:
- The contrast between the mark and the background is low.
- The film is reflective or transparent, scattering the light.
- The registration "mark" is actually part of the artwork and not a simple, clean block.
If all your jobs involve a clear, high-contrast registration mark printed in its own lane, a photoelectric sensor is likely all you need.
The Specialist: Vision Inspection Systems
A vision system replaces the simple sensor with a high-speed digital camera and a dedicated industrial computer. Instead of just looking for a change in contrast, it captures an image of the film and uses software to find a specific pattern you've taught it to recognize.
This is a much more powerful and flexible approach. A vision system can:
- Identify a registration mark even with very low contrast.
- Find a specific logo or part of a printed image to use as the registration point.
- Measure the position of the web and provide guidance for edge trimming.
- Be programmed to perform basic quality control, like detecting major print defects.
Of course, this advanced capability comes with a higher price tag and more complexity in setup. It's the right choice when your print jobs are complex, your quality standards are exceptionally high, or you need the flexibility to handle a wide variety of films and artwork.
| Feature | Eye-Mark Sensor | Vision System |
|---|---|---|
| Technology | Photoelectric (light contrast) | Camera + Image Processing |
| Best For | Simple, high-contrast marks | Complex patterns, low contrast, part of artwork |
| Cost | Lower | Higher |
| Flexibility | Low (detects a predefined mark) | High (can be programmed for different patterns) |
| Typical Use Case | Standard print-to-cut registration | High-precision slitting, integrated quality control |
This is why providing a physical sample of your film is non-negotiable. When we can see and test the actual printed material in our lab, we can definitively recommend the most reliable and cost-effective sensor technology for your specific needs.
How Do You Prepare an Effective RFQ for Slitting Printed Packaging Film?
You're ready to invest in new equipment, but you dread the endless back-and-forth emails needed to clarify specifications. An incomplete Request for Quotation (RFQ) is the number one cause of inaccurate quotes and project delays. Let's fix that.
To get a fast, accurate quote, your RFQ must be a complete technical brief. It needs to include detailed material specs, the full print registration data we've discussed, finished roll requirements, and, most importantly, physical samples of your film. This helps us engineer a solution, not just quote a price.
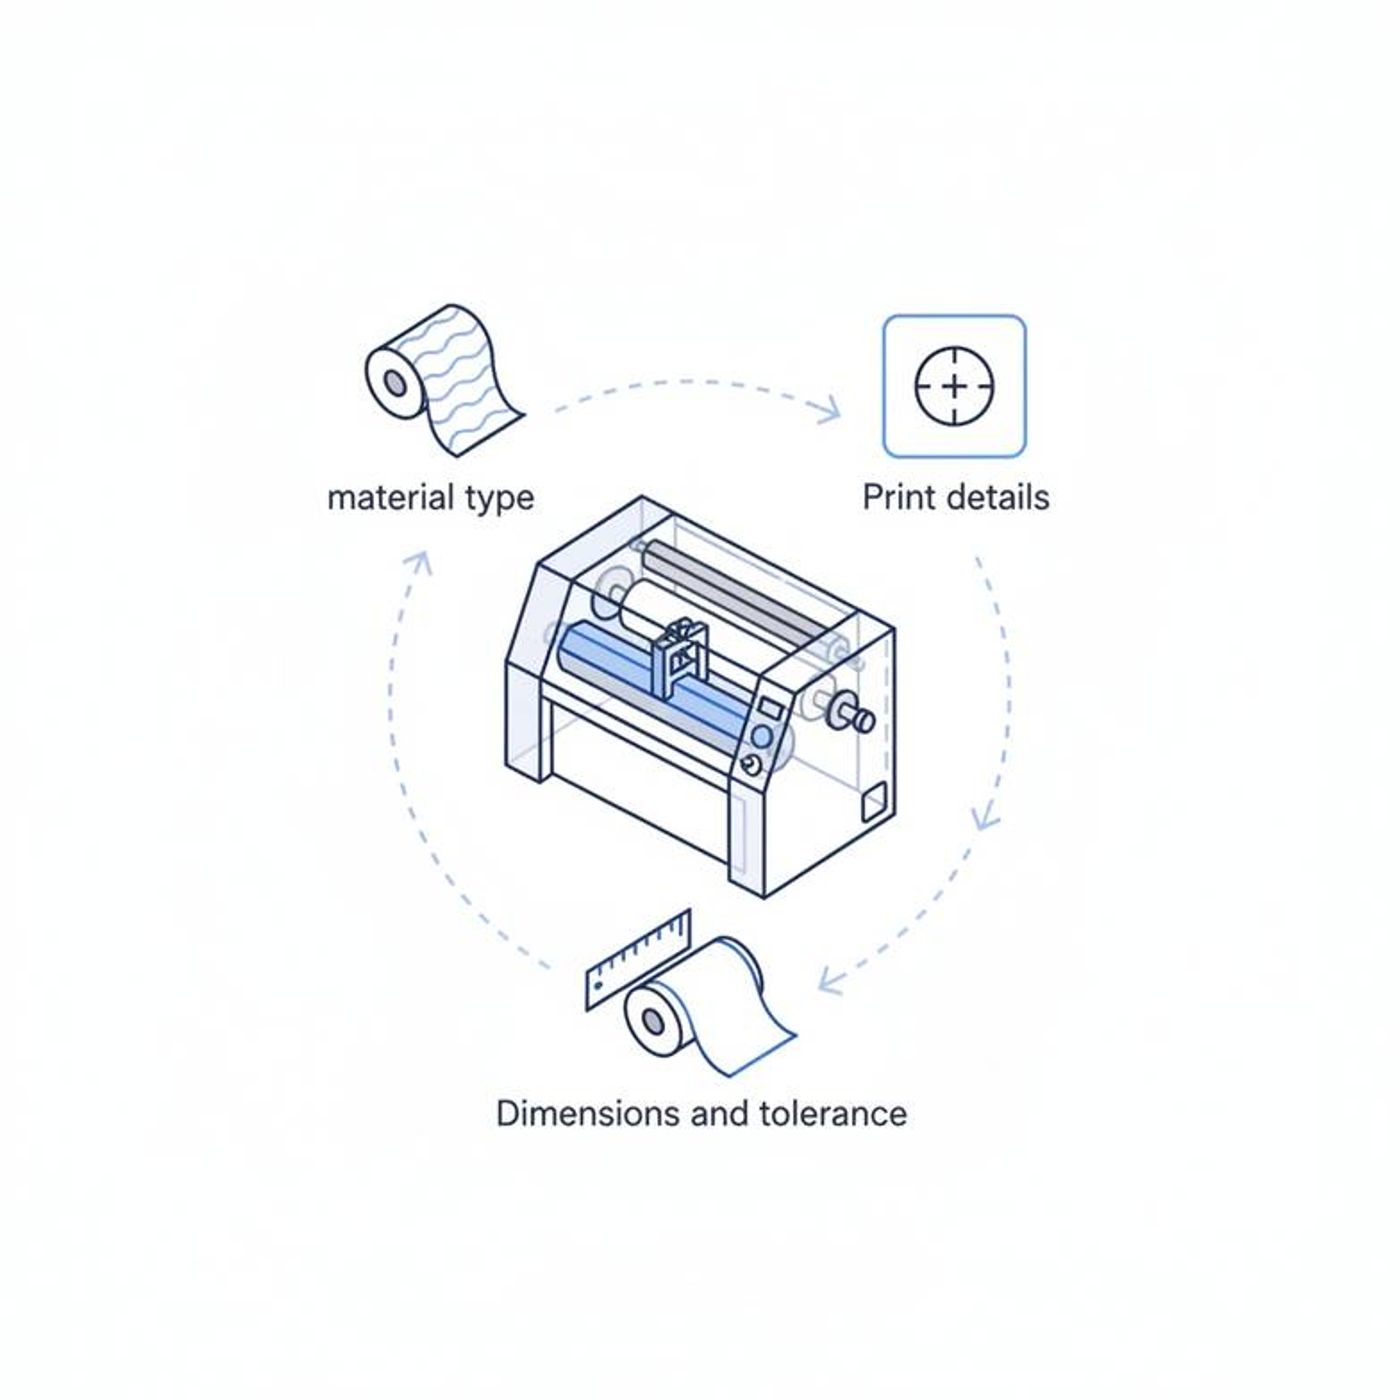
Here is a checklist of the essential information to include in your RFQ. Think of this as building a complete project file for your supplier.
1. Provide Complete Material Details Don't just say "BOPP film." Give us the specifics:
- Material Type(s): BOPP, PET, PE, PVC, etc.
- Thickness Range: In microns or gauge (e.g., 12–50 microns).
- Special Properties: Note if the film is particularly stretchy, slippery, sticky, or abrasive.
2. Document the Full Print Registration System This is where you bring together all the details from the first section:
- Print Repeat Length: The exact distance in millimeters.
- Registration Mark Data: Include a drawing or close-up photo. Specify its dimensions (L x W), color, and background color.
- Required Cutting Tolerance: The acceptable error margin (e.g., +/- 1mm). Be realistic.
3. Specify All Roll Dimensions We need to understand the job from start to finish:
- Parent Roll: Maximum diameter, maximum weight, web width, and core inner diameter (ID).
- Finished Rolls: The range of slit widths you need to produce, the maximum finished roll diameter, and the core ID for the rewind shafts.
4. Send Physical Film Samples I can't overstate this. A physical sample is worth a thousand spec sheets. Send a few meters of your most challenging printed film. This allows the supplier to:
- Test the readability of the registration mark with different sensors.
- Assess the film's surface for slipperiness or tackiness.
- Get a real-world feel for the material's stiffness and elasticity.
I’ve personally seen dozens of cases where a physical sample revealed a challenge—like a low-contrast mark or a very stretchy film—that would have caused major problems if we hadn't caught it before building the machine.
5. Define Your Production Goals
- Target Speed: What is your realistic target production speed in meters per minute? Maintaining registration accuracy at 400 m/min requires a much more advanced (and expensive) drive and control system than at 150 m/min.
- Slitting Method: Do you need razor slitting, shear slitting, or score cutting? This depends on your material.
By providing this complete package of information, you enable suppliers to give you a thoughtful, accurate quotation for a machine that will actually do the job you need it to do.
Frequently Asked Questions
Can I add a registration system to my old slitter?
It is sometimes technically possible, but it's often more complex and expensive than it seems. It involves integrating a sensor, a controller, and modifying the machine's main drive system to act on the sensor's signals. For reliable performance, it's almost always more effective to invest in a machine that was designed from the ground up for registration-controlled slitting.
What happens if the print registration mark is not consistent?
Inconsistent marks—those that vary in color, size, or position relative to the artwork—are a major problem for simple eye-mark sensors and will likely cause cutting errors. This is a classic scenario where a more advanced vision system is the better solution, as it can be programmed to find a "best fit" pattern even with some variation.
Does higher machine speed affect registration accuracy?
Yes, absolutely. As speed increases, the time available for the system to detect the mark, calculate the correction, and adjust the web position becomes shorter. Maintaining high accuracy at high speeds requires a very responsive control loop, stable web tension, and high-performance motors and drives. Your target speed is a critical factor in the machine's design.
Why is a physical film sample so important for a quotation?
A spec sheet can't capture real-world properties. A physical sample allows us to test sensor performance against the actual print contrast and material finish. It also helps us understand the film's mechanical properties, like stretchiness, which is crucial for specifying the right tension control system. It’s the best way to prevent surprises during commissioning.
Conclusion
Ultimately, successfully slitting printed packaging film with precision and minimal waste comes down to clear, detailed communication with your equipment supplier. Viewing your registration requirements not as a single number but as a complete system—involving the mark, the tolerance, the material, and production speed—is the first step. When you prepare an RFQ that includes this full picture, you empower your supplier to move beyond guesswork and engineer a machine that truly fits your needs. This thoughtful preparation saves time, prevents costly errors, and ensures the equipment you invest in will be a productive asset for years to come.
If you are preparing to evaluate equipment for your printed film converting projects, our team at DJH Machinery is ready to help. Contact us with your material specifications, roll dimensions, and print details to start a detailed technical discussion for your next slitting machine.
Continue the Technical Review
For a closer look at the selection and operating questions raised in this guide, read Film Slitting Machine Selection Guide for Plastic Film Converters and Packaging Manufacturers and compare the recommendations in Film Slitting Machine Maintenance Schedule Daily, Weekly & Monthly Checks.