
Struggling to order a replacement air shaft for your slitter rewinder? You’re worried that if you get one dimension wrong, the new shaft won't fit, causing major production delays. The key to avoiding this expensive problem is learning how to correctly measure your existing air shaft journals, as this is the most critical interface between the shaft and your machine.
To accurately measure air shaft journals, you must go beyond a simple diameter reading. You need to document the journal's diameter at the bearing surface, its length, the dimensions of any steps or shoulders, and the specifics of its mounting mechanism, such as keyways or flange bolt patterns. This complete set of dimensions, documented in a simple drawing with supporting photos, is essential for a supplier to quote and manufacture a compatible replacement.
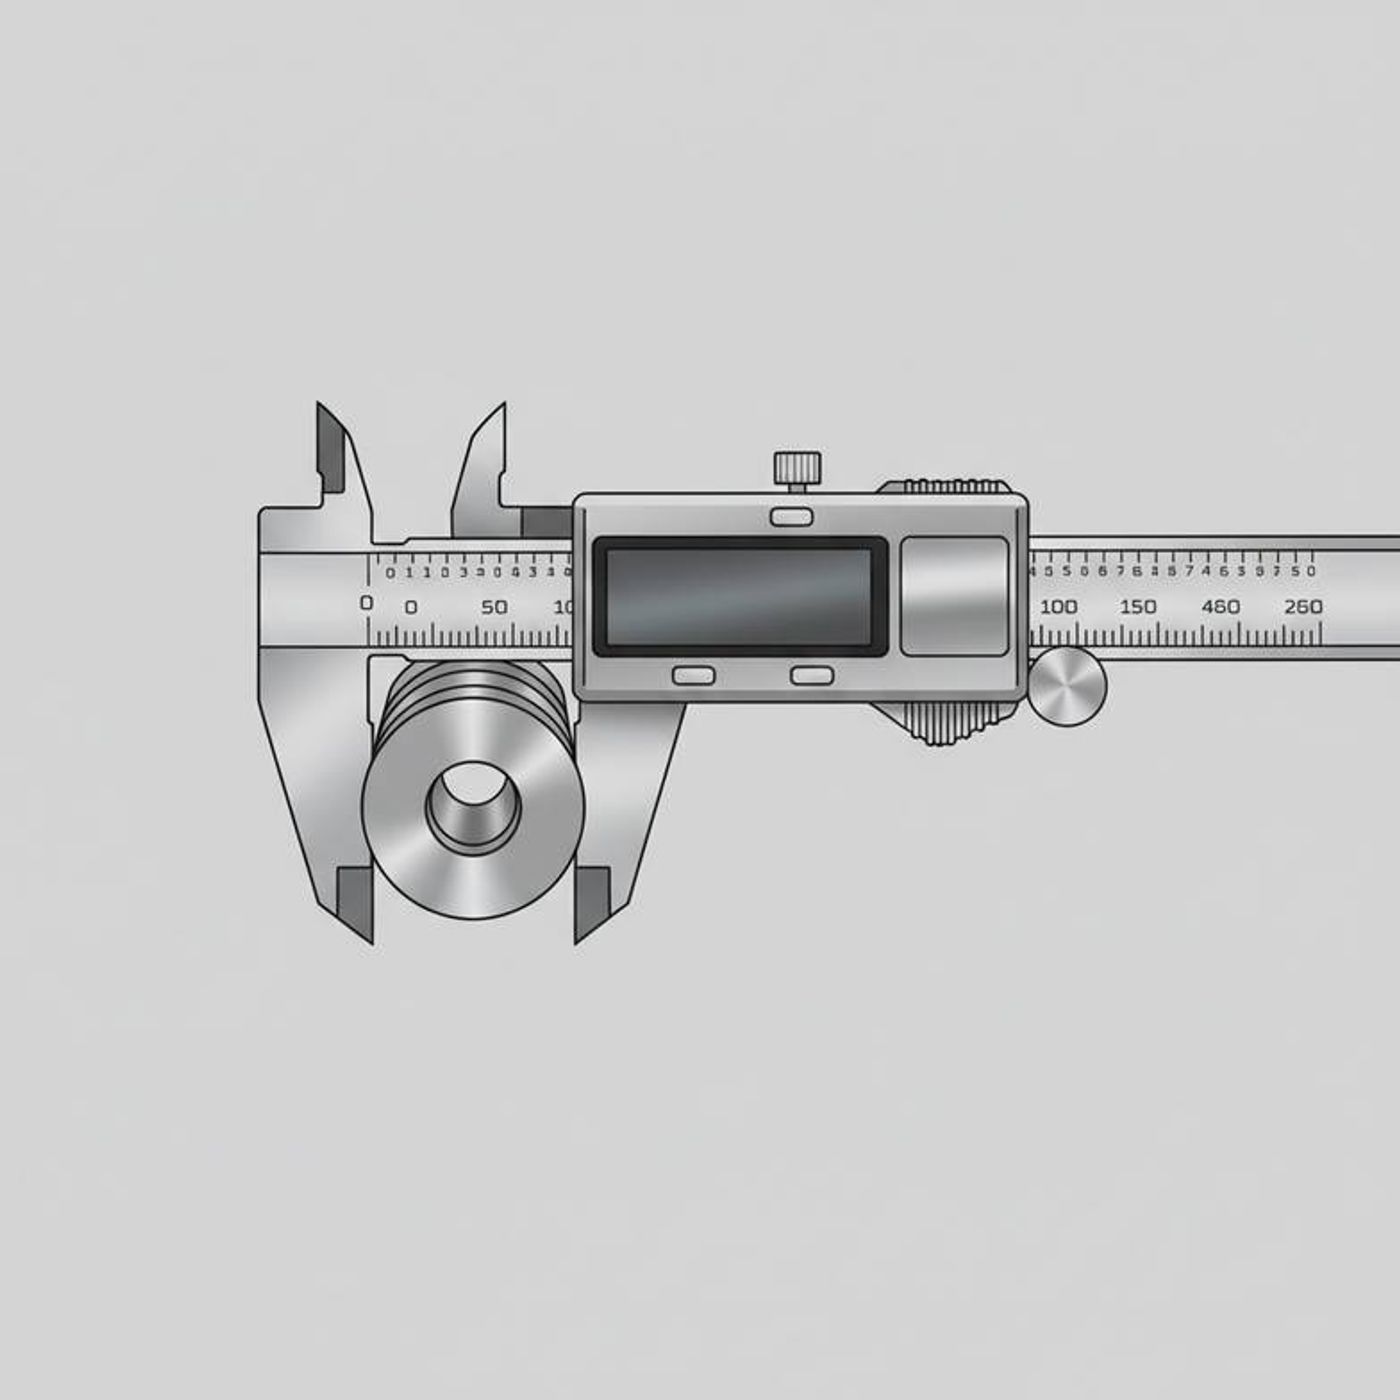
Getting these measurements right is more than a technical task; it's a risk management process. A complete and accurate request ensures you receive a part that fits perfectly and gets you back into production without a hitch. Let's dive into exactly what to measure and why each detail matters.
Why Aren't My Air Shaft Journals Defined By a Single Diameter?
You've got your calipers out, ready to measure the journal diameter. But stopping there is one of the biggest mistakes we see. This single number is dangerously incomplete and can lead to ordering a part that is completely unusable.
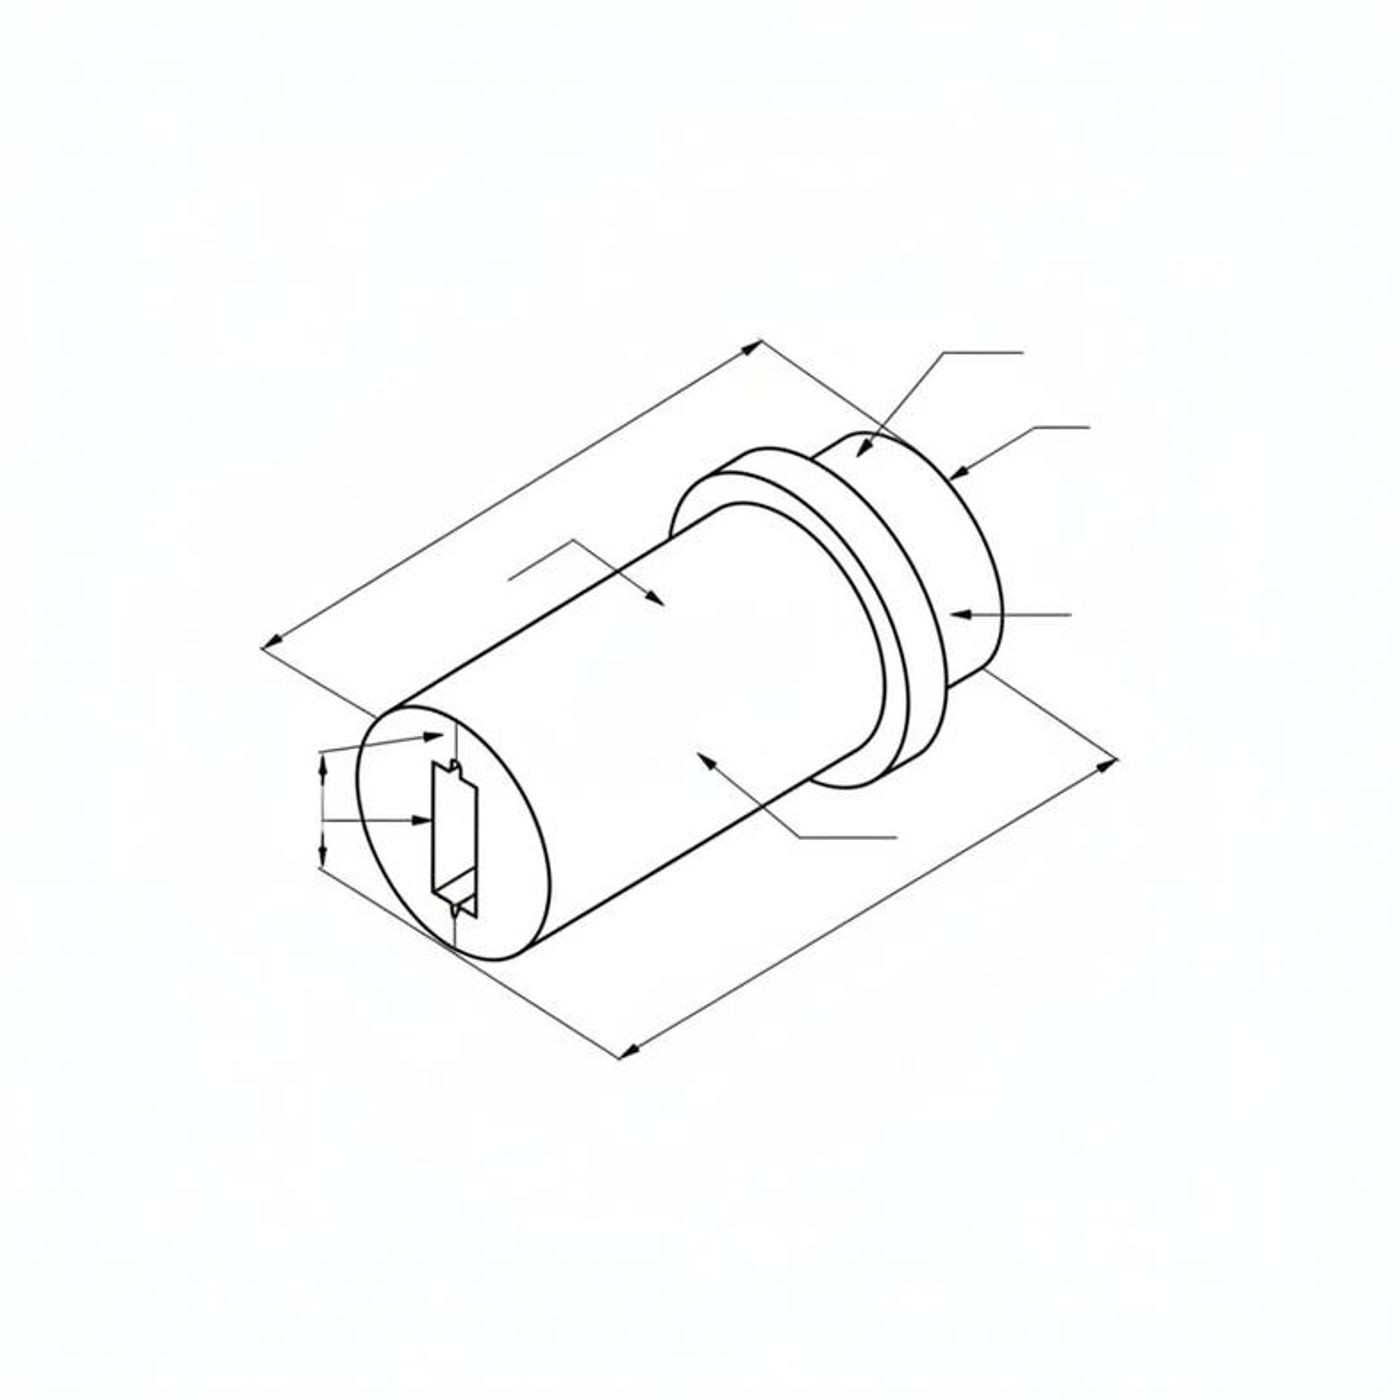
A shaft journal isn't just a cylinder; it's a complex interface designed to locate the shaft, support its weight, and transfer torque within the machine frame. To do all that, it relies on a combination of dimensions working together.
Think of it like ordering a replacement car tire. You wouldn't just give the seller the overall diameter. You need to specify the width, the rim size, and the aspect ratio. A shaft journal is no different. You need to provide a complete set of specifications to ensure a perfect fit.
Dive Deeper: The Critical Dimensions Beyond Diameter
To create an unambiguous request for a quote, you need to capture several key details. Forgetting any one of these can result in a shaft that either won't install or will fail prematurely.
- Journal Diameter: This is the obvious starting point. Use a quality digital caliper and take several measurements around the circumference to check for wear or out-of-roundness. Be sure to measure the exact spot where the bearing sits. An incorrect diameter, even by a fraction of a millimeter, can mean the bearing is too loose (causing vibration) or too tight (impossible to install without damaging the bearing or journal).
- Journal Length: Measure the length of the main bearing surface. If the journal is stepped, measure the length of each individual section. If this length is too short, the shaft will have excessive side-to-side play in the machine frame, leading to poor winding quality and potential damage. If it's too long, it simply won't fit between the machine's side frames.
- Shoulders and Radii: Look closely at where the journal meets the main body of the shaft. Is there a sharp corner or a small, curved radius? This radius is a critical feature for stress distribution. A supplier needs to know its approximate size. Also, measure the diameter of the shoulder that the journal steps up from. This shoulder often acts as a stop, setting the shaft's position, so its location is vital.
- Mounting Features: How is the journal locked into the machine? This is where many errors happen.
- Keyway: If there is a slot for a key, you must measure its width, depth, and length. Crucially, you also need to note its position—is it centered on the journal? How far is it from the end of the shaft?
- Set Screws: Are there threaded holes for set screws? Note their size (e.g., M8), quantity, and their location (both around the circumference and distance from the end).
- Flange: For flange-mounted shafts, measure the outer diameter of the flange, its thickness, the number of bolt holes, the size of the holes, and the Pitch Circle Diameter (PCD)—the diameter of the imaginary circle running through the center of all the bolt holes.
Every one of these data points is a piece of the puzzle. A good supplier uses this information to build a complete picture of the part you need, ensuring the new shaft is a direct, drop-in replacement.
What Common Air Shaft Journal Types Should I Know How to Measure?
Walking through different factories, I've seen countless slitter rewinders. While the machines vary, the air shaft journals generally fall into a few common design patterns. Knowing which type you have helps you focus on the most important measurements.
The problem is that each type has its own "easy-to-miss" dimension. A customer might send what they think is a complete set of measurements, but forgetting one specific detail for their journal type means we have to go back and ask for more information, delaying their quote and their order.
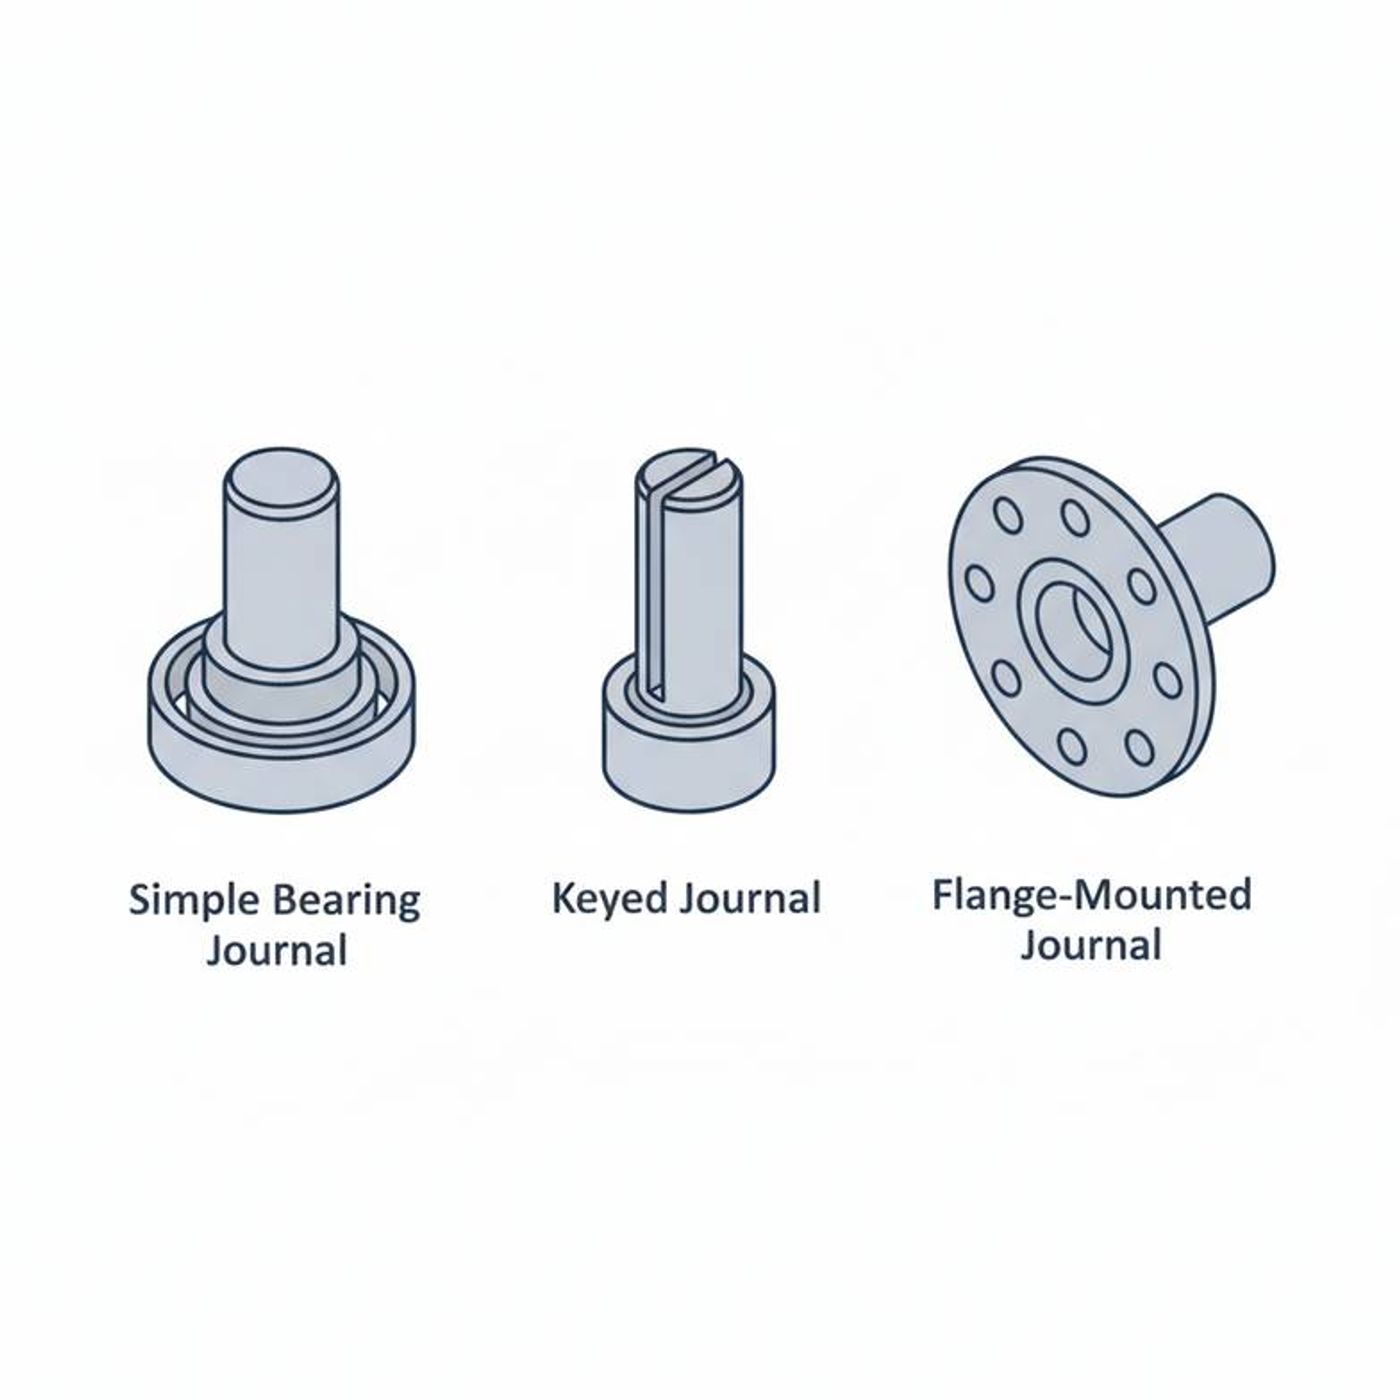
Let’s look at three of the most common designs and the measurement mistake we frequently see for each. Being aware of these common pitfalls will put you way ahead of the curve.
Dive Deeper: Common Journal Designs and Measurement Pitfalls
Here is a breakdown of common journal types, the key things to measure, and the mistake to avoid for each one. This is based on years of reviewing customer inquiries for replacement shafts.
| Journal Type | Key Measurements | The Most Common Mistake | Consequence of the Mistake |
|---|---|---|---|
| Simple Bearing Journal | - Journal Diameter<br>- Journal Length<br>- Shoulder Diameter<br>- Overall Shaft Length | Forgetting to measure or note the small fillet radius where the journal steps up to the shoulder. | A sharp corner (no radius) creates a stress concentration point, making the shaft more likely to crack and fail under load. The part may also not seat correctly if the bearing has a matching radius. |
| Keyed Journal | - All of the above, plus:<br>- Keyway Width<br>- Keyway Depth<br>- Keyway Length<br>- Keyway position from the shaft end | Only providing the keyway width and length. The position and depth are just as important. | If the keyway depth is wrong, the key won't fit correctly. If its position is off, the drive gear or pulley will be misaligned, or it may not be possible to install it at all. |
| Flange-Mounted Journal | - Flange Outer Diameter (OD)<br>- Flange Thickness<br>- Number of bolt holes<br>- Bolt hole diameter<br>- Pitch Circle Diameter (PCD) | Forgetting to measure the PCD. Many people measure the flange OD and the hole size but miss this critical dimension. | The new shaft will be impossible to install. The bolt holes on the new shaft simply will not line up with the threaded holes on your machine's mounting bracket. This requires costly and time-consuming rework, if it's even possible. |
My advice is to assume nothing. When you are measuring your air shaft journals, be overly thorough. It is far better to provide one or two extra dimensions than to miss a critical one. When a machine is down and production is stopped, you don’t have time for a second attempt.
How Can I Best Communicate My Air Shaft Journal Measurements to a Supplier?
You've carefully measured everything. Now what? The final step is to translate those numbers into a clear, unambiguous request for your supplier. Sending a simple email with a list of numbers is asking for trouble.
Misinterpretation is a huge risk. Does "length: 150mm" refer to the journal length or the overall shaft length? Is "diameter: 50mm" the bearing surface or the shoulder? You need to provide context to your measurements.
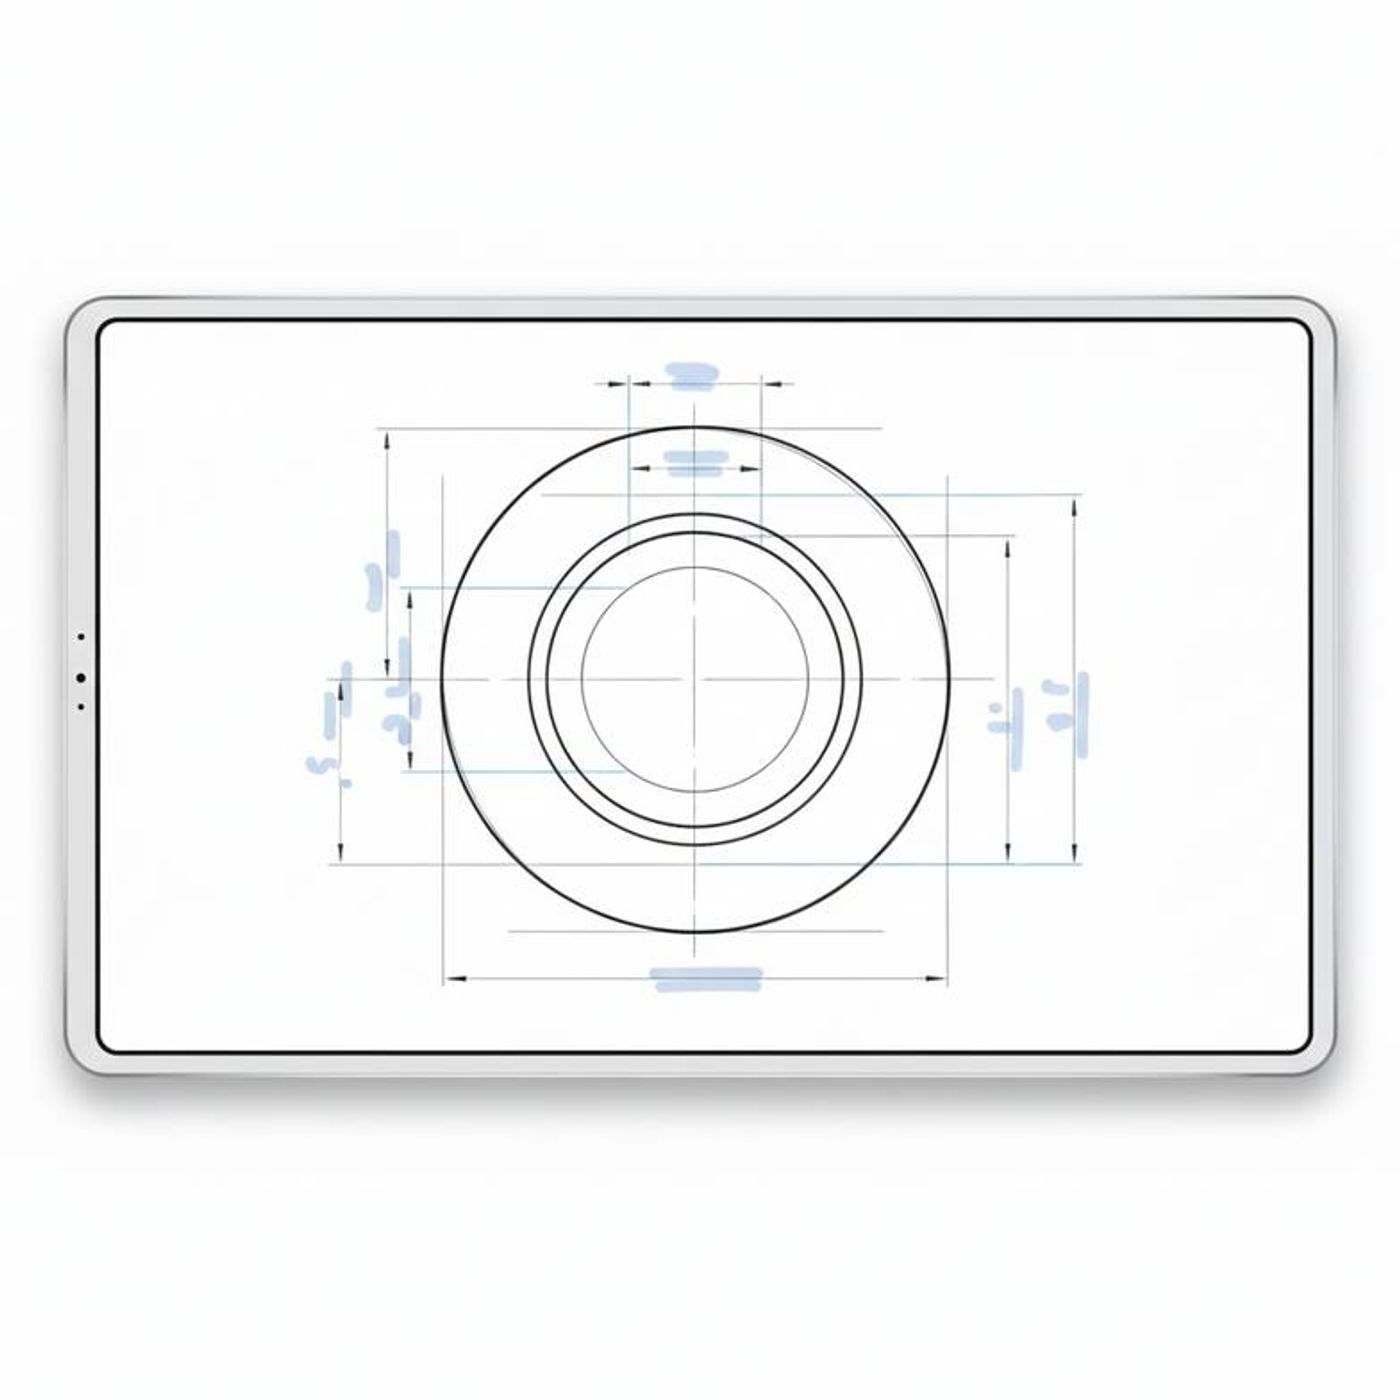
The goal is to create a technical document that leaves no room for guessing. A good supplier will appreciate this effort, as it allows them to quote faster and more accurately, and it protects both of you from the costs associated with producing the wrong part.
Dive Deeper: Creating a Foolproof Technical Request
You don't need to be a professional engineer with CAD software to do this well. A few simple tools—a pen, paper, and your phone's camera—are all you need to create a request that works.
The Power of a Simple Sketch
A clean, hand-drawn sketch is often the best tool for the job.
- Draw the Profile: Sketch the end of the shaft, showing all the steps, shoulders, and features like keyways or flanges. Don't worry about making it perfectly to scale; the labeled dimensions are what matter.
- Add Dimension Lines: Use arrows to clearly point to the exact feature you measured.
- Label Everything: Write the measurement next to each dimension line. Always include the units (e.g., "mm" or "inches"). Be consistent with your units throughout the drawing.
- Add Notes: Use text to call out specific details, like "M8 set screw hole" or "PCD: 120mm."
This simple drawing becomes the single source of truth for the part's geometry.
Annotate Your Photographs
Photos are fantastic for providing context, but they are not a substitute for a drawing because they don't convey precise dimensions. Their real power comes when you combine them with your sketch.
- Overall Shaft Photo: Take a picture of the entire air shaft once it's removed from the machine.
- Close-ups of Journals: Take clear, well-lit photos of each journal end from multiple angles.
- Photo of the Machine Mount: This is a step almost everyone forgets. Take a photo of the mounting bracket or chuck on the slitter rewinder itself where the journal sits. This helps a supplier understand the complete interface and can help them spot potential issues you might have missed.
You can even use a simple photo editing app on your phone to draw arrows and add notes directly onto the photos to highlight key areas.
Pull It All Together in an Email
Your email to the supplier should include:
- A clear subject line (e.g., "Quotation Request - Replacement Air Shaft").
- Your hand-drawn sketch as an attachment.
- All the photos you took as attachments.
- A brief description of the machine, the material you run (paper, film, etc.), and the shaft's working length and core size.
By providing this complete package, you are no longer just asking "how much for a shaft?" You are providing a complete technical specification. This empowers the supplier to give you an accurate quote for a part that is guaranteed to fit.
Frequently Asked Questions
What are the essential tools I need to measure my air shaft journals?
You don't need a lot of fancy equipment. The essentials are a quality digital caliper for accurate diameter and length measurements, a tape measure for the overall shaft length, and a smartphone to take clear photos of the journals and the machine mount.
Can I just send you a photo of the old shaft to get a quote?
Unfortunately, no. Photos are great for context, but they can't accurately convey precise dimensions, tolerances, or features like keyway depth. A dimensioned drawing, even a simple hand sketch, is necessary to ensure the new part is manufactured to the correct specifications.
What if I can't remove the shaft from the slitter rewinder to measure it?
This makes the job much more difficult and increases the risk of error. While you might be able to measure some external dimensions, you won't be able to access critical features. The best practice is to schedule a brief maintenance shutdown to remove the shaft for complete and accurate measurement.
Does it matter if I measure in inches or millimeters?
Both are acceptable, but the most important thing is to be consistent and to clearly label which unit of measurement you are using on your drawing. Most international suppliers, including us at DJH Machinery, work primarily in millimeters (mm), so providing metric dimensions is often the most direct path.
Conclusion
Measuring air shaft journals is far more than just getting a diameter. It’s a crucial step in managing operational risk. By taking the time to document the journal diameter, length, steps, mounting features, and overall context, you are effectively creating a technical specification. This detailed approach, communicated through a simple sketch and supporting photos, removes ambiguity and ensures that the replacement part you order is a perfect, drop-in fit. This diligence protects your budget, prevents damage to your slitter rewinder, and most importantly, minimizes costly production downtime.
When you have your drawings, dimensions, and photos ready, our team at DJH Machinery is here to help. We can review your specifications, confirm the technical details, and provide a comprehensive quotation to get the right replacement shaft on its way to your factory.
Continue the Technical Review
For a closer look at the selection and operating questions raised in this guide, read What Drawings Are Needed to Order a Replacement Air Shaft? and compare the recommendations in Steel vs Aluminium Air Shafts: What to Compare Before Ordering.